
Build your own Link Shortener with Netlify
Please share this post if you enjoy it!
Custom short links using Netlify
Often there are links you send people to all the time - things like you youtube channel, twitter profile, your blog etc. Sending full URLs can be pretty unwieldy and impossible to remember if you tell someone about it in conversation. This is where custom shortlinks can come to the rescue.
Obviously, you can use an existing link shortening service but it just looks a little more sleek and professional if you have a custom short link.
For example, I have custom short links for things related to Hungry Turtle Code:
- trtl.cc - Takes you to the main website
- trtl.cc/patreon- Takes you to my Patreon.
- trtl.cc/youtube- Takes you to the Hungry Turtle Code YouTube channel.
- trtl.cc/js - Takes you to the page with all articles tagged with “Javascript”.
You get the picture.
It is much easier to give out those short links than it is to give out the full URLs.
How did I do it?
This tutorial is entirely inspired by a video I saw a few weeks ago by Kent C Dodds. I thought the idea was really cool so I thought I would recreate it and give him the credit while I tried to spread the cool idea. If you don’t already know who he is, definitely go give him some love - he does some awesome things for the Javascript community.
Here is a high level run down of what we will be doing:
- Purchase a domain to use as your short link domain
- Set up a git repo that will contain configuration to map short links to full URLs
- Connect that git repo to Netlify so Netlify can create the correct redirects
- Point the previously purchased domain to Netlify.
Purchasing the domain
First things first you need to get hold of a domain to use as your shortlink domain. I tend to get my domains from NameCheap but you can use whatever provider you are used to (Netlify also allows you to purchase domains directly through them).
I will use Namecheap in this tutorial. If you go to namecheap you will be met with the following page that will allow you to search for domains to see if they are available for purchase (ie someone doesn’t already own it).
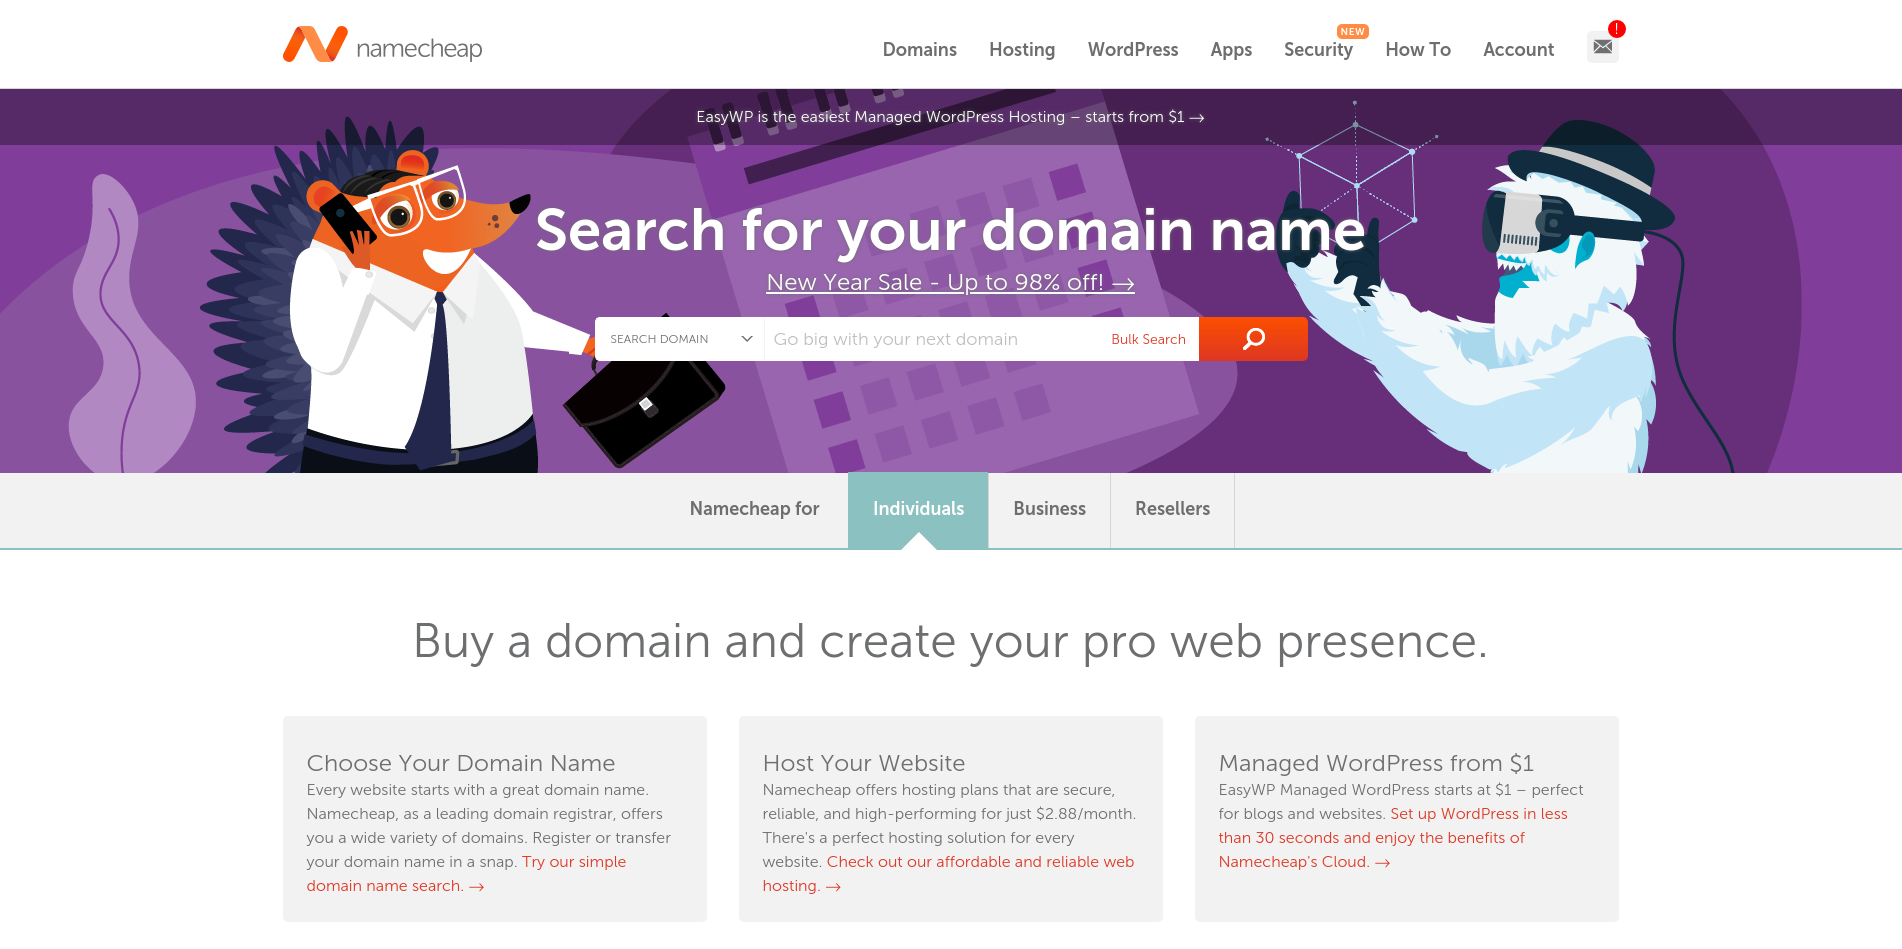
I searched for “htcode.club” to use for this tutorial and luckily it was available. If the domain you search for is available it will tell you the price of it and give you an “add to cart” button.
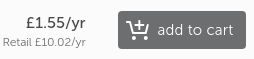
Follow the instructions through checkout and complete the purchase of the domain.
Git Repository
Now we have the domain we can set it to the side for a second while we get everything else set up.
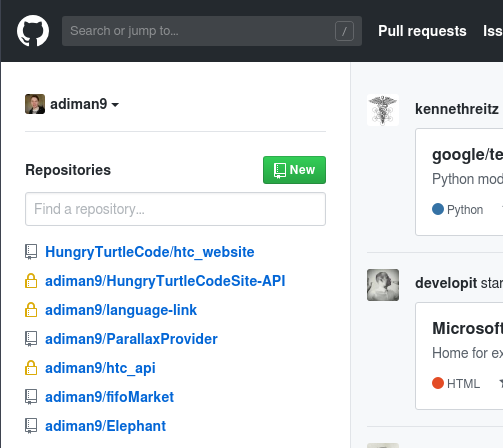
Go to GitHub and create a new repository.
I called mine “shortlinks-example”.
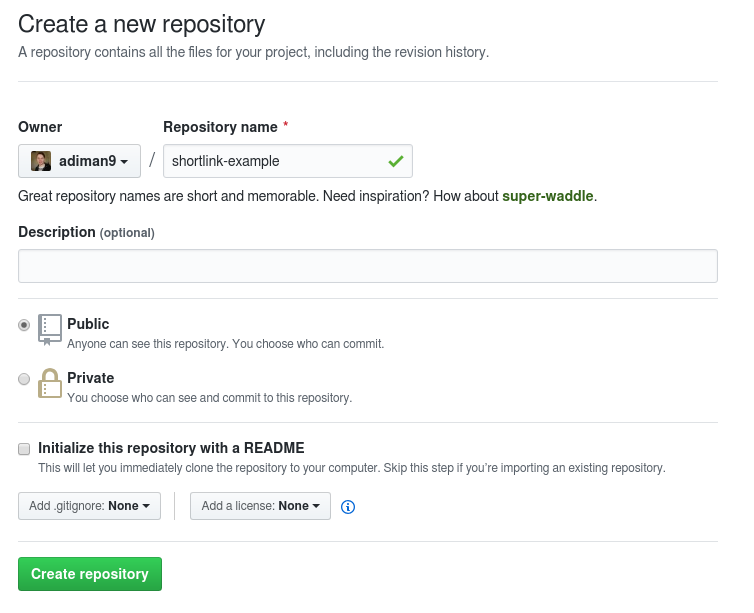
Then click create the repository.
At this point, I would usually go to the terminal on my machine and create a new git repo there and link it to the newly created repo on github. But in this case I am actually going to create a new file directly through github, just for convenience.
I will call it _redirects. This name is important. It is the file that Netlify will look for to create redirects when we link this repo to Netlify.
Inside this new _redirects file I will add the following:
/* https://www.youtube.com/channel/UC7Vxnf06GP6w42Lg3TQLXSwThis will map all routes to the url of my youtube channel. I will discuss more about this file later in the article but for now know that we simply map a route to a url. In this case we map the wildcard route /* to the url of my youtube channel.
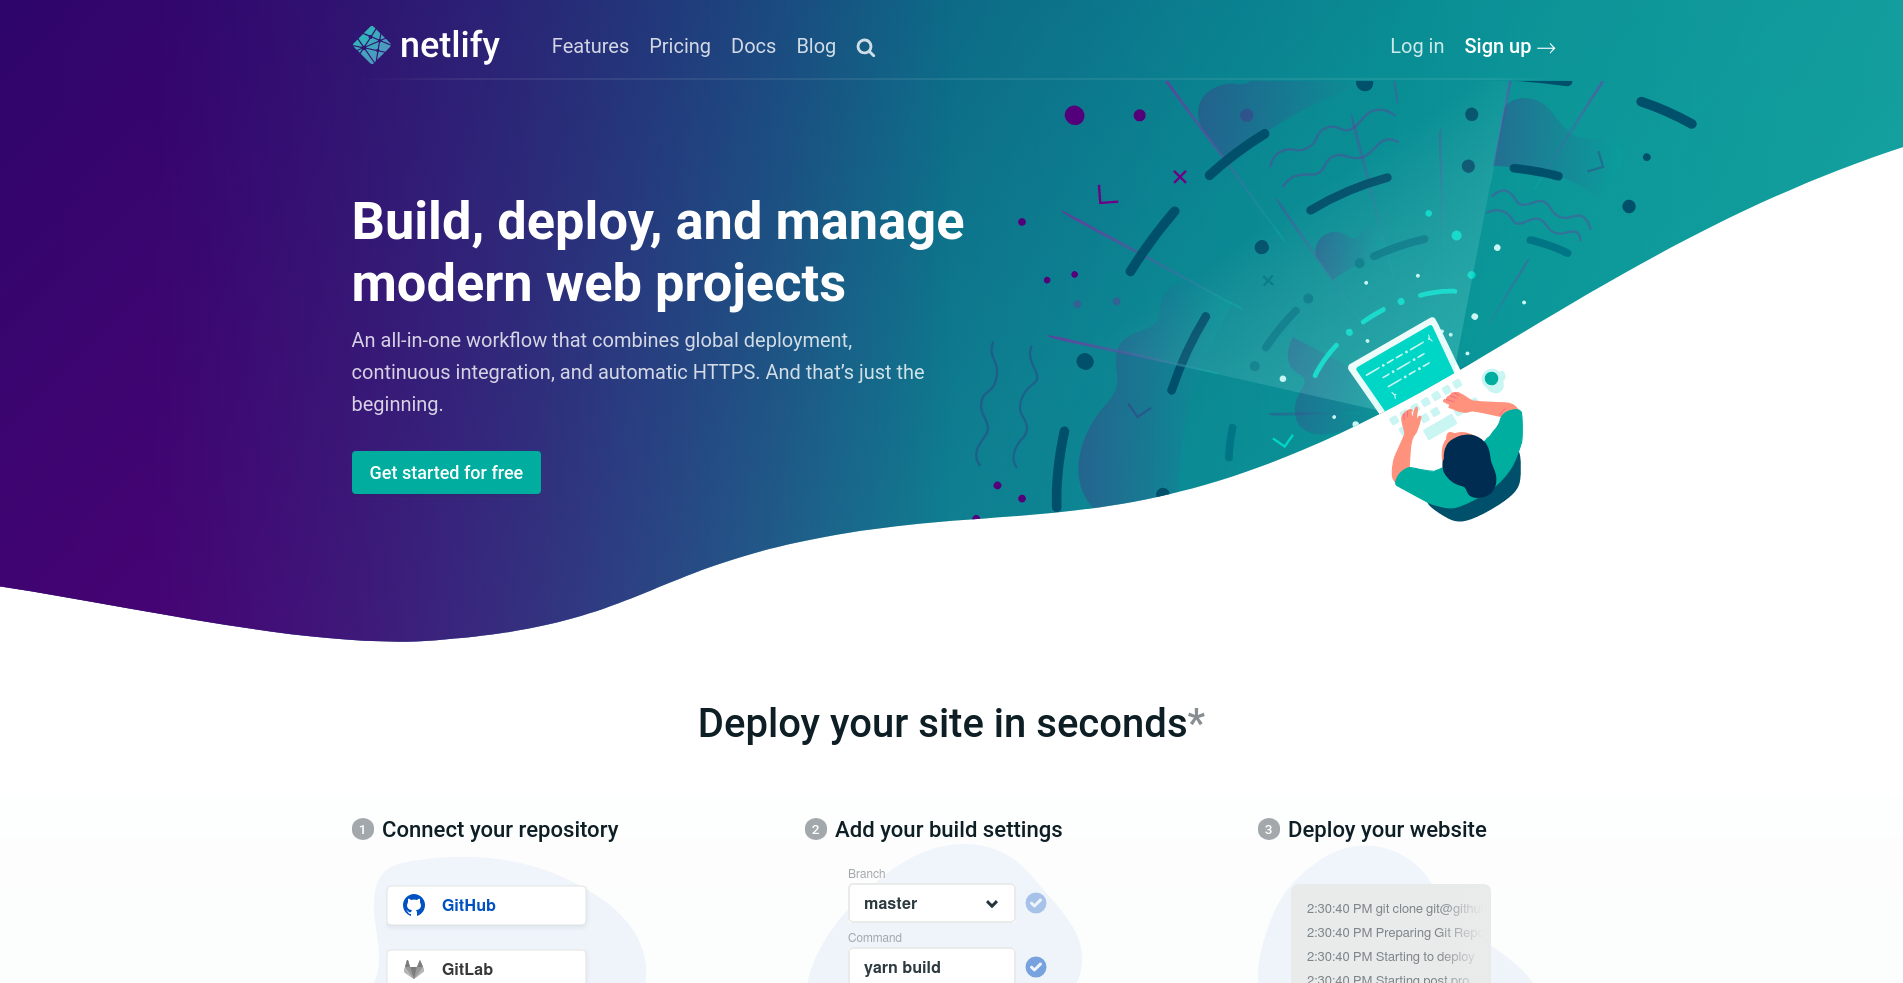
On To Netlify
The next thing to set up is an account on Netlify. Head over to Netlify and set up an account.
I signed in using GitHub.
Click “New site from Git” in the top right hand side:
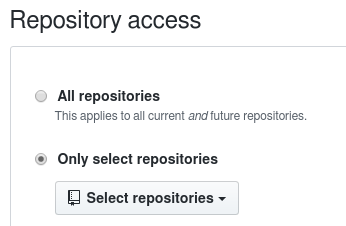
Then link it with GitHub. This will allow you to authorise Netlify against any or all of your github repos. I selected to authorise only selected repos and chose the shortlinks-example repo we just created.
With that done you can now click on the repo within Netlify and you will be met with this page:
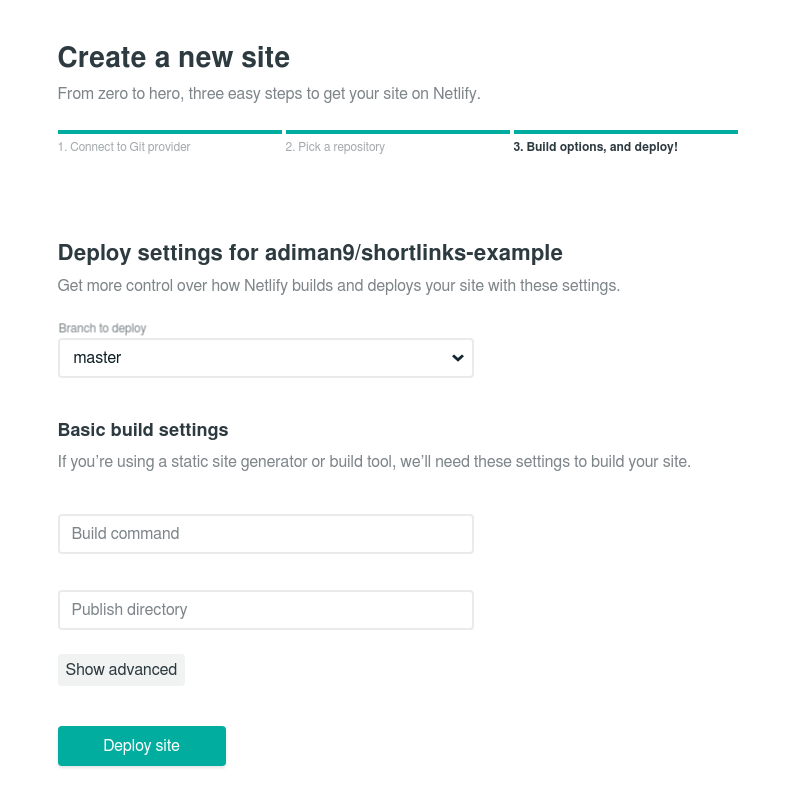
You do not need to worry about build settings or anything (Netlify is capable of some pretty cool things, so maybe an idea for another tutorial?), so just click “Deploy site”.
Your redirects are deployed - kinda
Netlify will immediately create a deployment based on what is in the git repo. That means our redirects will be live - just not using the domain we want yet.
Pointing your domain at Netlify
Click the “Domain settings” button on the project dashboard on Netlify:
Then click on the “Check DNS configuration” button:
You will be met with different options for pointing your domain at Netlify. Namely:
- Creating an ANAME entry to point at the netlify domain
- Creating an A record to point at the IP netlify gave you
Namecheap doesn’t support ANAME as far as I am aware so I will be going down the A record route. Copy the IP that is presented to you and head over to namecheap.
On the namecheap dashboard click on “Manage” next to the domain you just purchased. Then click on “Advanced DNS”.
Here we can add a new DNS record:
Select “A Record” as the type. Enter the “@” symbol for “Host” and paste in the IP from Netlify into the Value field.
Click the little check mark on the right when you are done:

At this point I also deleted the other DNS records that NameCheap placed on the domain by default.
Tick Tock
At this point it is just a waiting game for the DNS to propagate. It usually doesn’t take that long.
After a while if we enter htcode.club into the browser address bar we will promptly be taken to my youtube channel. Now the DNS has propagated and our domain is pointing to Netlify and Netlify is using the info from the _redirects file to redirect us accordingly. Wonderful!
Adding more redirects
At this point we have the infrastructure set up to create as many short link redirects as we want.
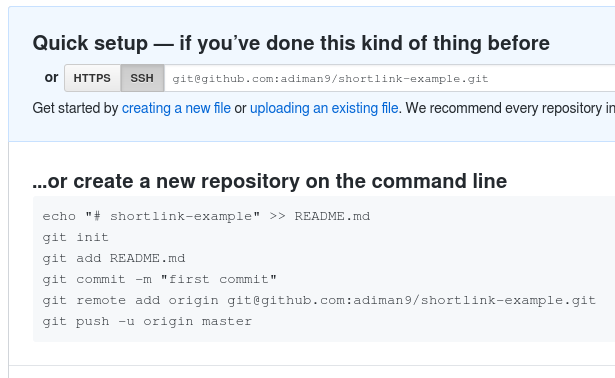
I will clone the github repo to my local machine and we can add some more redirects to the file. Head over to github and grab the repo url:
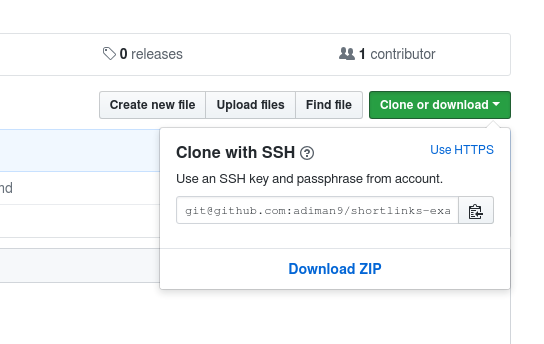
Then in the terminal:
git clone <repo url>Then cd into the newly created directory and open up the _redirects file in your favourite text editor.
This file is parsed by Netlify from top to bottom and the first matching entry is what is served as the redirect, meaning we want the wildcard entry we already have in there to be at the bottom of the file ie all other redirects should be defined above it.
Let’s add a few more entries into the file:
1
2
3
/site     https://hungryturtlecode.com/
/patreon  https://www.patreon.com/hungryturtlecode
/*        https://www.youtube.com/channel/UC7Vxnf06GP6w42Lg3TQLXSw
Save the file and commit the changes:
git add . && git commit -m "added some shortlinks"Push those changes back to github:
git push origin masterThis will notify Netlify of the changes and Netlify will in turn create the new redirects. In my experience, Netlify deploys the updates FAST!
So now we can hit htcode.club/patreon or htcode.club/site and be redirected accordingly!
So there you have it, you have your very own short link service! Well done!
At this point the world is your oyster. The workflow to deploy new short links is so clean. The possibilities are endless. For example I am thinking of creating a tool that will automatically create an entry in the redirects file and push the repo every time I write a new article on this site. There are many similar ideas you could dig into now too!
So go forth and conquer the short link world!
Stay hungry, and keep coding.
Adrian
Please give this post a share if you enjoyed it. Everyone needs that awesome friend to send them amazing stuff.
Please share this post if you enjoy it!