How To Deploy a Library to NPM Using Travis CI
Please share this post if you enjoy it!
Deploying our Library to NPM
We finally made it! We are going to deploy the library to NPM. With all the best practices in place from the previous part we are ready to set up travis continuous integration and automated deploy of the library to NPM on git tags. Learning how to publish an npm package is definitely something you should have in your tool belt.
Setting up “continuous integration” and automated deployment isn’t nearly as complicated as it sounds. So let’s get into it.
Other npm scripts
Before we set up Travis we will want a few more NPM scripts to trigger things like eslint etc instead of triggering it via lint-staged like we are currently doing it.
Here is all the npm scripts:
1
2
3
4
5
6
7
8
9
10
11
12
13
14
"scripts": {
  // ones we had already from other parts
  "build": "rollup -c",
  "dev": "rollup -c -w",
  "test": "jest",
  "test:watch": "jest src --watch --notify",
  "precommit": "lint-staged",

  // New ones
  "lint": "eslint src",
  "format": "prettier --write \"src/**/*.+(js|md|ts|css|sass|less|graphql|yml|yaml|scss|json|vue)\"",
  "cover": "jest --coverage",
  "clean": "rimraf dist",
},
The new scrips are triggering eslint, prettier, jest code coverage reports and a script to clean out the dist directory using a tool called rimraf. You will probably need to install rimraf as a dev dependecy like so:
yarn add --dev rimrafRimRaf is a tool that allows for removal of directories in a cross platform manner. On linux you could use rm -rf but that won’t work on windows. RimRaf allows if to work anywhere, which is much better suited to a codebase that will be used by many people on various different systems.
One last file to add to the repo is .npmrc which we put this into:
1
registry=http://registry.npmjs.org/
It just tells npm we want to use the npm registry.
Setup done, let’s GOOOOO
We are going to set up continuous integration using Travis CI. Continuous integration is just a way of running your linting, test and build process on a fresh system automatically on every push to github. This will also run against pull requests to the repository so we will always know if the tests are passing and the library is building properly.
You may have seen this on github pull requests before:
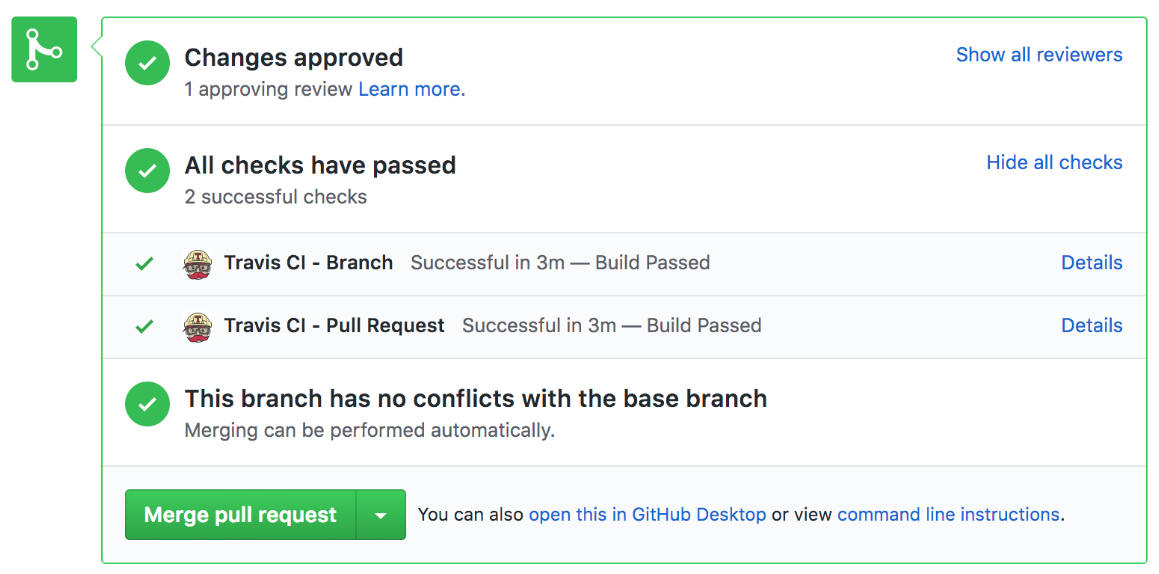
That is travis integrated with github.
If you haven’t already, create a git repo and push your code to github. Once you have done that go to travis-ci.org and sign up with your github account.
Once you are logged in, you will be greeted by a list of all the public repositories you have on your github account. Search for the one you want and click it, you will be greeted by this page:
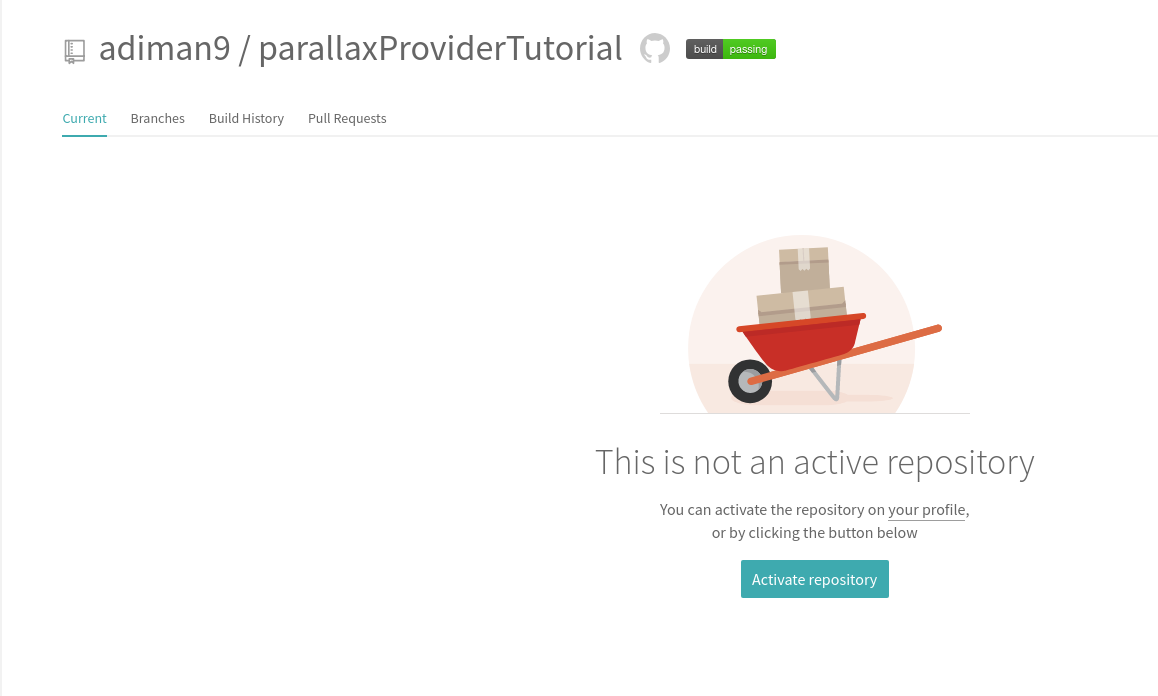
Activate the repository.
GitHub will now inform Travis every time there is a commit or pull request to the repository. But nothing will happen yet because we haven’t told travis what to do. This is where we create a .travis.yml file to tell travis what to do.
Here is a basic travis config that will install all dependencies and run the lint, test and build scripts automatically. Travis will then report back if these scripts passed or failed.
1
2
3
4
5
6
7
8
9
10
language: node_js
node_js:
  - '8'
cache: yarn
install:
  - yarn install
script:
  - yarn lint
  - yarn test
  - yarn build
If we add the above config into the repo and push it to github travis github will tell travis that there is a new commit and travis will run according to what is in that config.
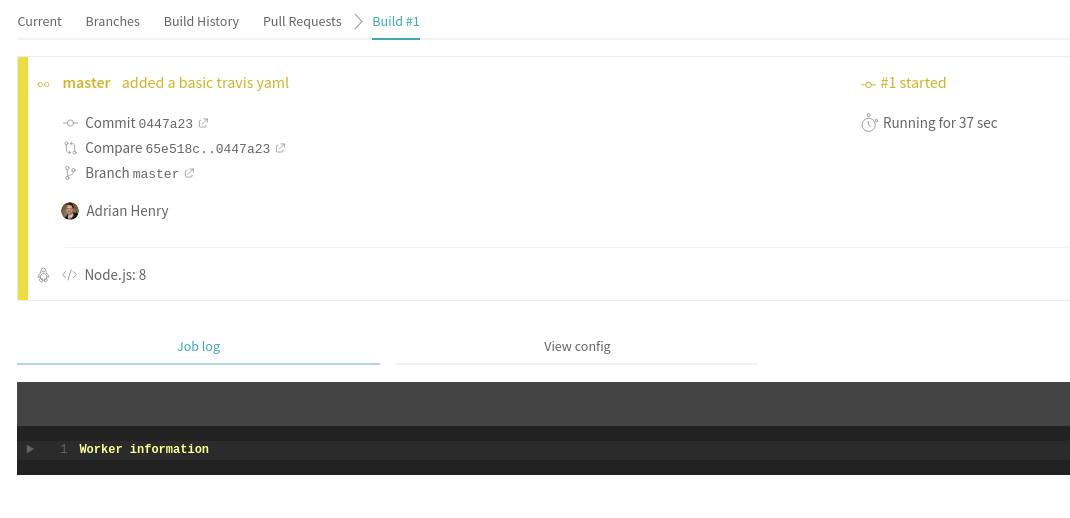
If we head back to the travis dashboard and click on “Build History” we should see a new build has been triggered:
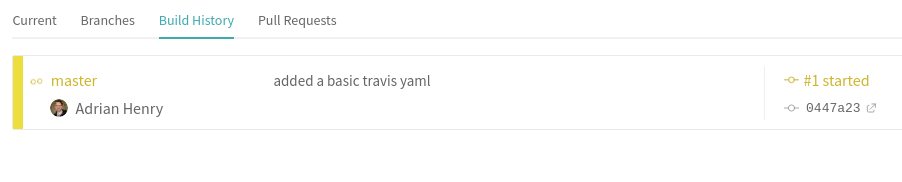
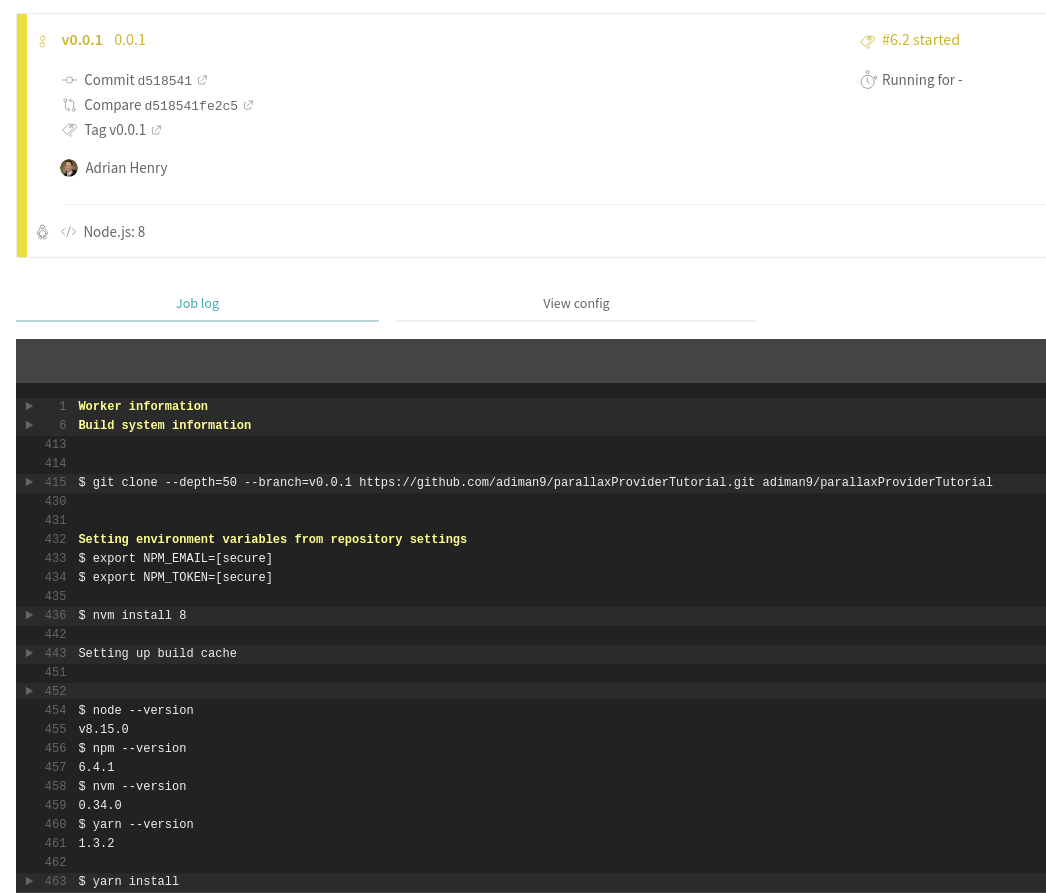
If we click on the build we will see the build information and the real time progress of the build.
CI DONE, time to deploy!
At this point we have all our tools set up for best practices and we have a continuous integration flow working. The next thing to do is to automatically deploy the library to NPM via the travis pipeline.
Firstly, if you haven’t got one already, set up an account at npmjs.com
Once you have an account you will need to create an API token that will allow travis to publish to your account.
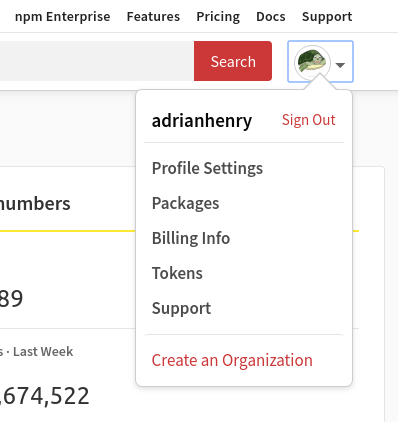
On the main page on npmjs.com click the account dropdown at the top and select “tokens”:
You will be brought to the tokens page of your account. Click the “Create new token” button.

You want to create a “Read and publish” token so that travis can publish on your behalf. Soon as you hit create you will be presented with a success message and the token itself. Be super careful with this token, if anyone get’s hold of it they will be able to publish to your npm account, which is really not what you want!
Add the key to travis
Now that you have that key, you want to add it to your travis account as an environment variable for your builds.
Navigate to the travis dashboard and click on the project in question. In this case I will click on “ParallaxProvider” and getting taken to the project dashboard.
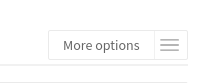
Hit the “More options” button on the top right and go to “settings”.
Scroll down to the “Environment Variables” section and create two environment variables as follows:
- NPM Email
- Name: NPM_EMAIL
- Value: the email you use for your npm account
- NPM API Key
- Name: NPM_TOKEN
- Value: the api key you just created on npmjs.com
Make sure that when you add then the toggle for “display value in build logs” is not toggled on. You do not want these values to be visible anywhere (well no the api key anyway).
Final steps
We don’t want to deploy to NPM on every single commit. Instead we will use the git tag system and only deploy when we tag a commit as a new version. That leaves us free to push as many commits as we want and travis will run the CI against every one of them to make sure that the repo builds and the tests pass. However it will only trigger a deployment to NPM if a new tag is present on the commit and the continuous integration passes.
To get this working we will need to update our travis yaml config file:
1
2
3
4
5
6
7
8
9
10
11
12
13
14
15
16
17
18
19
20
21
22
23
24
25
26
language: node_js
node_js:
  - '8'
cache: yarn
install:
  - yarn install
jobs:
  include:
    - stage: Build and test
      script:
        - yarn lint
        - yarn test
        - yarn build
    - stage: npm release
      script: yarn build
      deploy:
        provider: npm
        email: '$NPM_EMAIL'
        api_key: '$NPM_TOKEN'
        skip_cleanup: true
        on:
          tags: true
branches:
  only:
    - master
    - /^v[0-9]+.*$/
So there is definitely more going on in this config file, so let’s go through it.
The first thing you will notice is that there is a new “jobs” key and the “script” key has been indented into one of the jobs. We have also added a “branches” key. Let’s talk about what all of this means.
Before we just had the “scripts” section that told travis to run those scripts. That is the simplest case where there is no conditions required to run any of them and there isn’t any desired grouping for the scripts to run.
If we want something a little more complex we can use the stages feature within travis. This allows us to to have different groupings of scripts call “jobs”. Above you can see we have defined two different jobs. One called “Build and test” and the other called “npm release”.
The build and test job is exactly what we had in the basic travis config before, we have just put it into a job instead.
The interesting part is the npm release job. We initailly give it a script “yarn build” to run just to ensure that the project is built correctly then we trigger a travis deploy pipeline. Travis is aware of how to deploy to many different providers, one of which is the npm registry. So we tell travis we want to use the provider “npm” in the deploy script.
Then we need to tell travis to use the email and npm api key that we put into travis earlier. This will allow npm to authorise travis to actually deploy to our account.
There are two more options provided:
- skip_cleanup: true - Tells travis not to clean up the artifacts from the build stage. This is 100% necessary otherwise there will be no files to deploy because travis will clean them up after the build.{: _}
- on: tags: true - This tells travis to only run this deploy job when there is a tag present on the commit this job is being run against.
Finally we have
1
2
3
4
branches:
  only:
    - master
    - /^v[0-9]+.*$/
This is just telling travis to only trigger jobs on the master branch or on a tag that starts with v and a number (eg v0.0.1). We can put as many words or regex expressions in this list and they will match against branches and tags in our repo. Any time there is a new commit that matches on of those, it will trigger the travis jobs.
Tagging and npm version
With our new travis config we are able to trigger travis to run our tests and build on every commit and also trigger travis to deploy to npm when there is a new tag present. But how do we tag a commit?
Well there are two ways: The manual way and using npm version.
The manual way
The manual way is to run git tag <tag name>. So to tag a commit with v0.0.1 we would run this:
1
git tag v0.0.1
At this point we would have a git tag but the “version” key in the package.json won’t be in sync with the git tags. This would have to be updated manually.
Name in the package.json
Just a quick not on the “name” field in the package.json. Whatever you put in here will be the name of your package on NPM. So make sure it is something that makes sense for your library. I don’t think you are allowed to use capitals in your names either. I have called mine ‘parallax-provider’.
NPM Version
To save the hassle of the manual tagging process npm has a built it command called npm version <version_type> that conforms to the SemVer spec and where version_type is one of the following:
- patch: a small bug fix.
- minor: a new feature with no breaking changes to the code.
- major: a new feature with breaking changes to the code.
Running this command will add a new git tag and update the package.json for us.
For example, if we are on v0.0.5 and we run npm version patch our new version would be v0.0.6. Running npm version minor would result in the new version being v0.1.0 etc
Pushing your tags to git
Regardless of which method you choose to tag your commits you will need to push the tags to github for travis to see them. You do that with the following command:
1
git push --tags
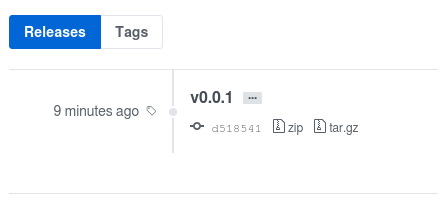
Once you have pushed the tags to github you should see them under “release”:
Everything working
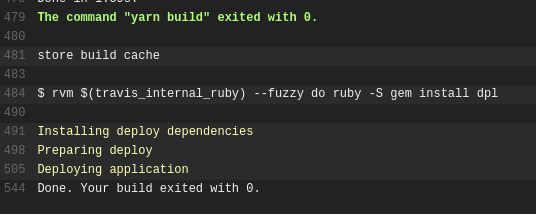
With our new tag added to git and pushed to github, travis will get to work running our jobs. It will detect that there is a new tag and therefore the deployment to npm will run.
If the travis jobs all passed successfully we should be able to go to your npm account and see a new package has been added:
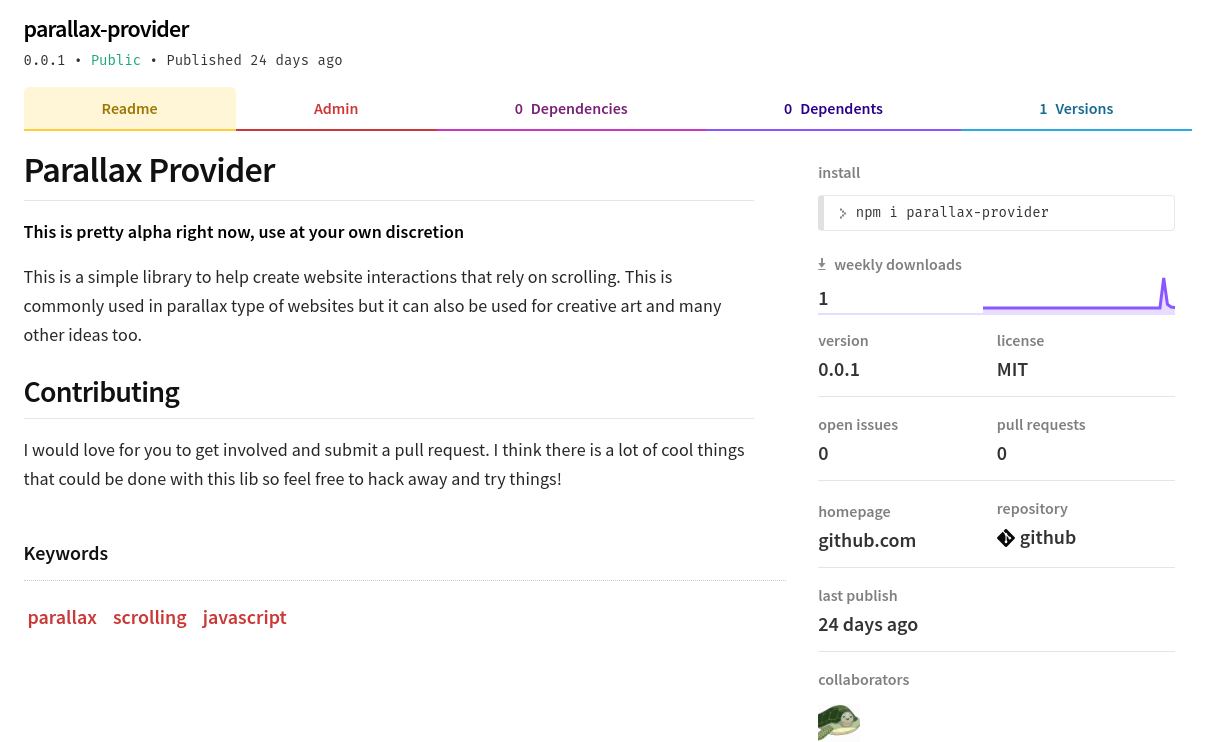
And there you go! Well done! You now have your very own open source package published on NPM.
If you follow along with this tutorial and publish your own package to NPM please do let me know, I would love to see. I am also happily accepting pull requests on my ParallaxProvider library if there is any feature you want to have a go at implementing.
Stay hungry, and keep coding.
Adrian
Please give this post a share if you enjoyed it. Everyone needs that awesome friend to send them amazing stuff.